this is a post about a new project that i am doing during the month of may.
so, i started thinking about what i am going to use for my diy project life :) first just let me tell you that i do not want to diss beckys amazing products at all, please trust me here, but right now in my life i do not have the means put on her products. i am however longing to try a project like project life, especially after seeing many, many lovely blogposts from people who really do love what the project made for them.
ok, let me show you what i have done so far.
i have used regular 8,5x11" page protectors as my base.
and here are my tools; scissors, ruler and that rub thing that i usually use to fasten my rub-ons on paper projects. also i used a craft knife later on. oh, and my sewing machine.
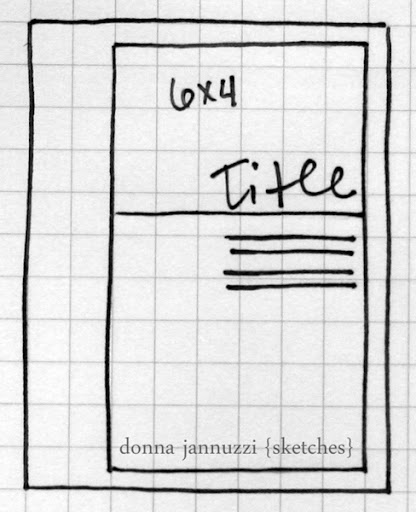
first i measured out on the page protector so i could fit 2 6x4 photos on each and three smaller slides between the photos much like the 12x12 project life page protectors. i then drew a line with the rubon tool just like i would with a pencil.
i then traced the creases in the page protector with my sewing machine, slowly to prevent to have crocked stitches since the plastic isn´t very sturdy.
this is how it looks like. i then took my ruler and craft knife and cut lightly so that i had openings for all three smaller slots and also for the lower photo slot. i messed up with 2 sheets making me have to start again ;)
i also made 5 seperate smaller page protectors to hold these free download of weekly planner from nora griffin.
i plan to use these as a place to record our planned activities these weeks.
the last thing i prepared were these slots that i am using to put extra photos in. i had page protectors that had 2 photo slots that i cut apart and added dubble sided tape to the top of.
i can´t wait until i can start!


